DevStack is an easy to deploy test platform for people who want to start playing with OpenStack but are not ready to do a full deployment. Over the years it has become easier and easier to deploy and at this point almost all of the heavy lifting has been scripted. In this post I will be going over exactly how you can get our own OpenStack sandbox running at home in less then a few key strokes.
First you will need to download Ubuntu Server 14.04 and deploy it as a VM. (Note: Ubuntu Server is a 64bit OS so you will want to enable Intel VT-x/EPT or AMD-V/RVI in your bios ahead of time.) After you get it all set you and you see a command prompt you may want to go ahead and just make sure everything is up-to-date and the changes have been committed.
sudo apt-get update
sudo apt-get -u upgrade
Now we can take the first real step in getting DevStack set up. First you will want to get “git”. Git is a free and open source distributed version control system (SCM) created by Linus Torvalds in 2005 ( Linux OS founder). It is designed to manage everything for small or very large projects with speed and efficiency. Majors organisations like Google, Facebook, Microsoft uses GIT daily.
sudo apt-get install git
Now we can download the latest version of DevStack from GitHub using git.
git clone git://github.com/openstack-dev/devstack.git
After that is all done we can kick off the script. Now you may ask, Why a shell script, why not chef, puppet, or even Juju since we are using Ubuntu? Well, The script is meant to be read by both people and computers since it has a duel purpose of being the primary documentation for DevStack. Using a recipe system requires everyone to agree and understand chef or puppet.
cd devstack/; ./stack.sh
Note: the default services configured by DevStack are Identity (keystone), Object Storage (swift), Image Service (glance), Block Storage (cinder), Compute (nova), Networking (nova), Dashboard (horizon), and Orchestration (heat).
You will be promoted to input a password for a few of the services but after that (and a few minutes) you should see something like this:
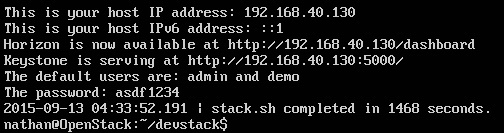
And there you go. You have officially set up a mini OpenStack deployment in just a few minutes at home using DevStack!
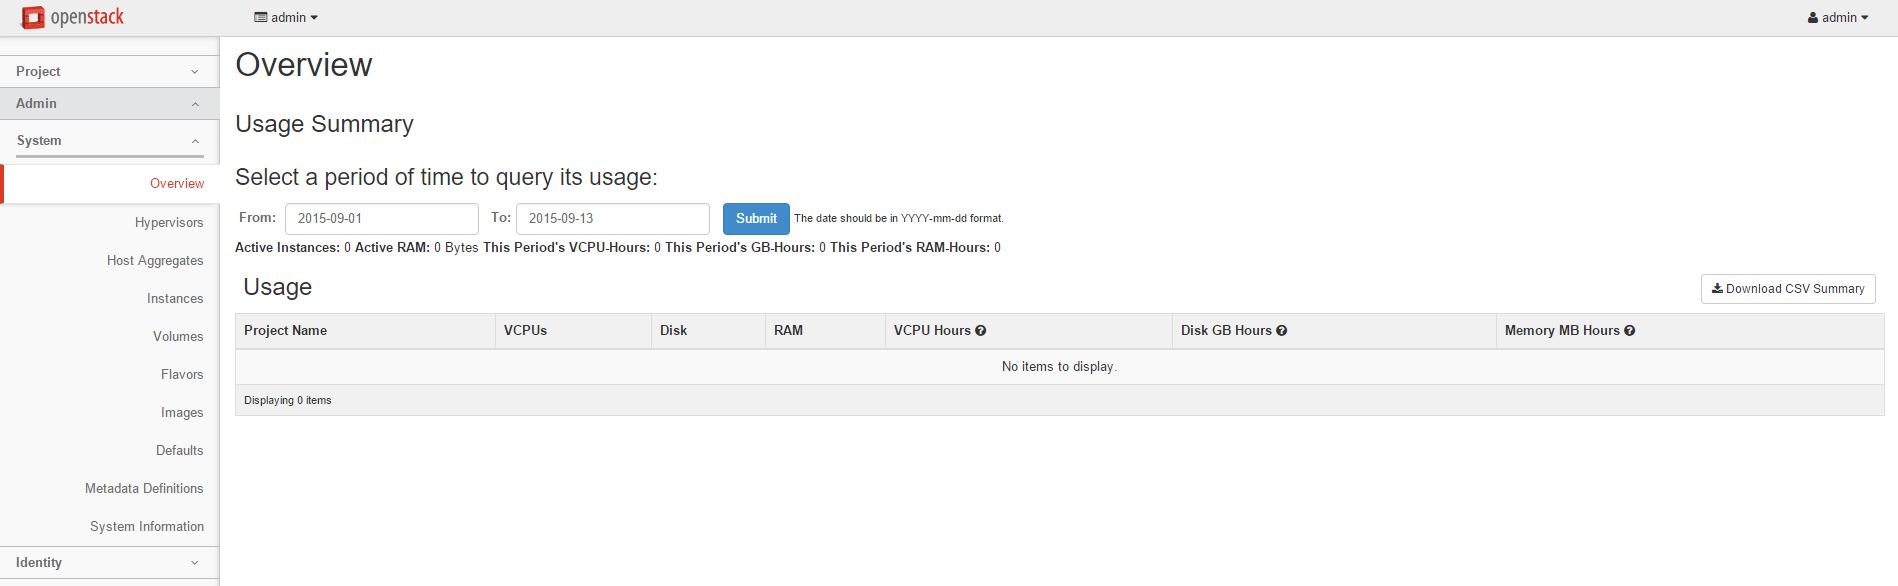
I would start by opening up a browser on your local machine and going to the OpenStack Horizon login page. All the credentials you need should be right in your VMs terminal window for you. After you get into the Horizon Dashboard start playing.
You can input your Amazon EC2 credentials to link it to the dashboard and start spinning up instances in EC2 right from in Horizon. If you are testing this in a data center lab you can even try deploying EMC’s CoprHD to automate and centuralize the management of your enterprise storage arrays. CoprHD is an open software defined storage controller platform based on EMC’s ViPR Controller. It enables management and automation of storage resources for block and file storage platforms.
In the immortal words of Taco, “TO THE CLOUD!”